.jpg)
&TupeloTree(right)NashvilleGA.jpg)
Making Syrup (2007)
(AT BOTTOM SELECT OTHER YEARS)
Luckily, there is no one proper way to make syrup because whether by design or otherwise, I seem to do it differently from time to time. Of course, beyond that, each syrupmaker has personal preferences based on his or her goals and experiences. As an example, I do not attempt to maximize efficiency or production; I have never sold syrup. I simply want to have fun and make syrup that Nedra will brag on, the latter fortunately being a given.
In 2007, I made two rounds of syrup. That is really more syrup
that I need, but my son was visiting on Veterans's Day so I pushed the schedule
up a bit for one making and had planned to do a second at my family's tradtional
time, Thanksgiving (the second making was  delayed, though). 2007 was terribly terribly droughty, and my
production cane was in its fourth and fifth year and had been neglected. So, my
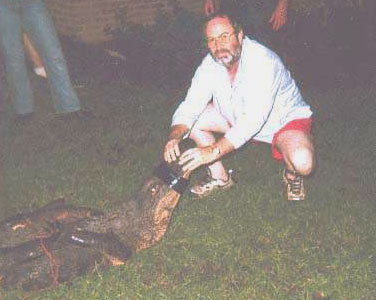
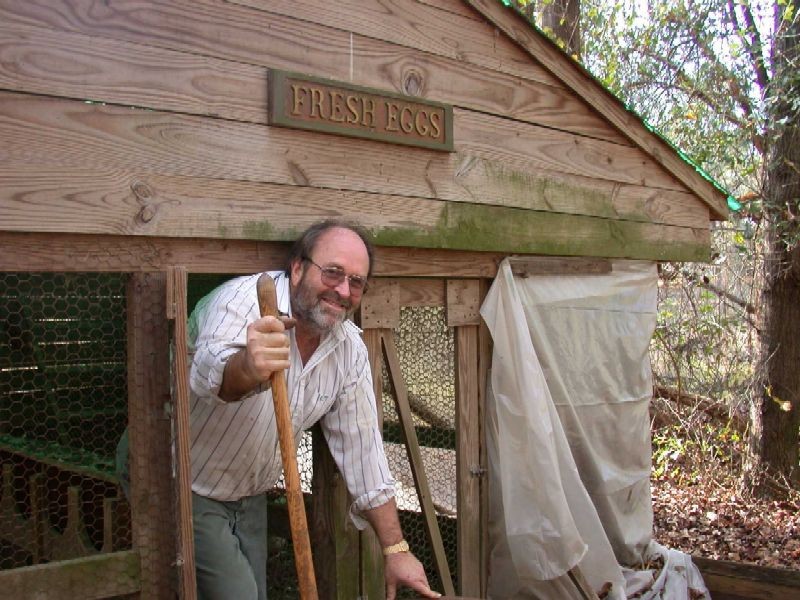
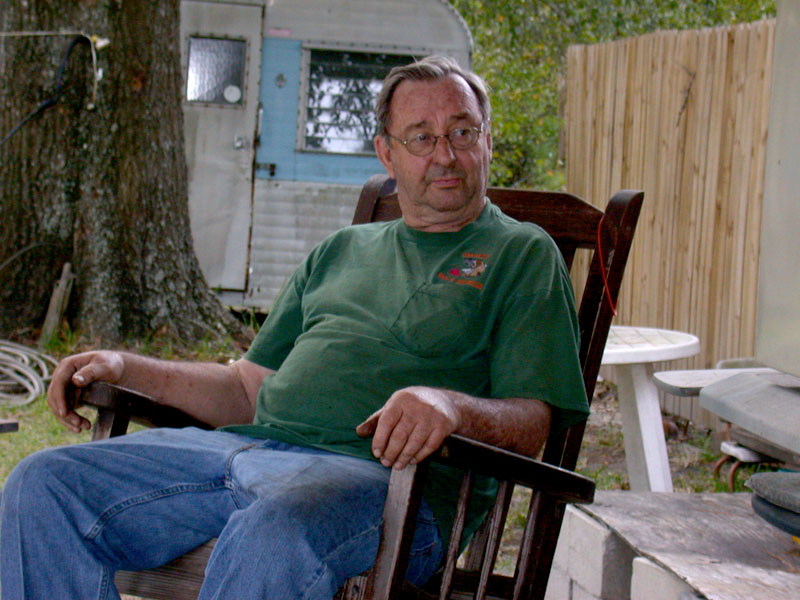
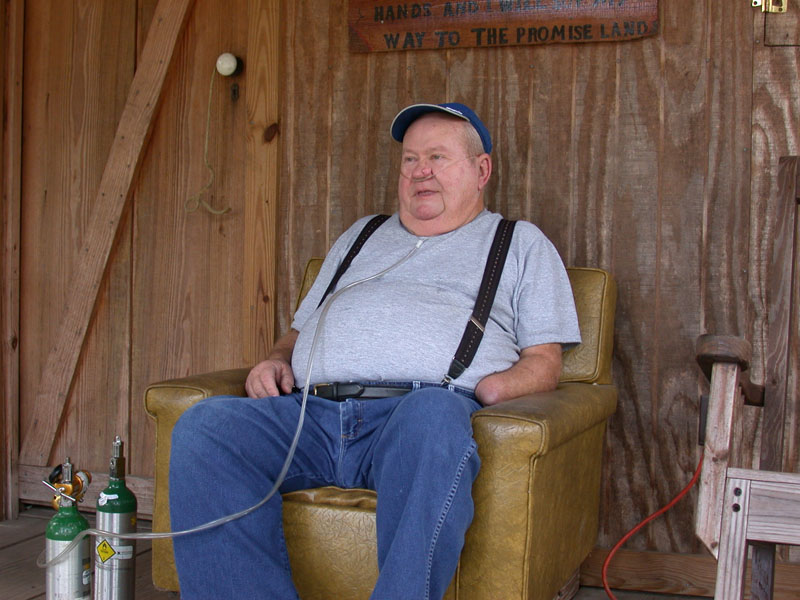
season began with a visit to my Nashville syrupmaking friends Gene Luke (Slide 1) and James King (Slide 2), who are neighbors. (Many of you
know that Gene did most of the metal fabrications for my syrup operation and
James is featured elsewhere on Southern Matters.)
Both Gene and James cut back on making syrup this year, but still had large
quantities of sugar
delayed, though). 2007 was terribly terribly droughty, and my
production cane was in its fourth and fifth year and had been neglected. So, my
season began with a visit to my Nashville syrupmaking friends Gene Luke (Slide 1) and James King (Slide 2), who are neighbors. (Many of you
know that Gene did most of the metal fabrications for my syrup operation and
James is featured elsewhere on Southern Matters.)
Both Gene and James cut back on making syrup this year, but still had large
quantities of sugar  cane. In
particular, James had a good bit of Home Green that was not spoken for. Because
it is an heirloom (and had a significant historical role in the development of
the sugar industry), I arranged to cut a round of it for my first syrup cooking
(Nov 11) and primarily used my CP 67-500 for my second cooking (Dec 2). Most of
the narrative and all the data are from the first cooking.
cane. In
particular, James had a good bit of Home Green that was not spoken for. Because
it is an heirloom (and had a significant historical role in the development of
the sugar industry), I arranged to cut a round of it for my first syrup cooking
(Nov 11) and primarily used my CP 67-500 for my second cooking (Dec 2). Most of
the narrative and all the data are from the first cooking.
 James would have given me all the cane I wanted, but I trie
 d
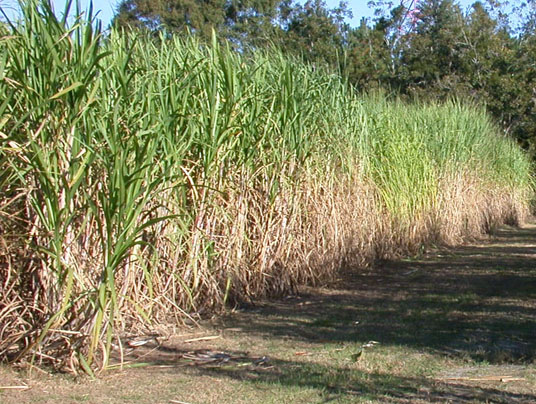
to get just enough to make a round, but not run out (Slide 3). Though a little on the short side, as Home Green
often is, it was beautiful cane (Slide 4). It was
d
to get just enough to make a round, but not run out (Slide 3). Though a little on the short side, as Home Green
often is, it was beautiful cane (Slide 4). It was
 clean and ready to grind. I had overestimated my need and had enough
left over to plant (Slide 5).
clean and ready to grind. I had overestimated my need and had enough
left over to plant (Slide 5).
(For several years, I have tried to grow this comely cane, but without success, and I hope this year is better.)
_red.jpg) As mentioned, my second round was with mostly CP 67-
As mentioned, my second round was with mostly CP 67-_red.jpg) 500, my overall favorite cane. I cut this batch a few days in
advance of making syrup, so I trimmed back the ends (Slide 6). My attitude about grinding cane
with growth on the ends parallels that of using rotten apples for pies. After
trimming the ends off the cane, I washed it, stalk-by-stalk, and stacked it in
the trailer (Slide 7) so that it would drain
overnight.
500, my overall favorite cane. I cut this batch a few days in
advance of making syrup, so I trimmed back the ends (Slide 6). My attitude about grinding cane
with growth on the ends parallels that of using rotten apples for pies. After
trimming the ends off the cane, I washed it, stalk-by-stalk, and stacked it in
the trailer (Slide 7) so that it would drain
overnight.
_red.jpg)
My estimate of how much would be required to make a round was somewhat improved the second time around and little was left (Slide 8).

We began grinding at at 0800 and finished at 1100. Slide
9 shows Will on task . Abigail Garwood, Will's
stepdaughter, pitched in and handed Will cane (Slide 10).

Abby earned the title of "Golden Girl" for reasons that are obvious in Slide 11. (Thanks very much to Dennis Parker for the Golden coffee cup, a favorite.)
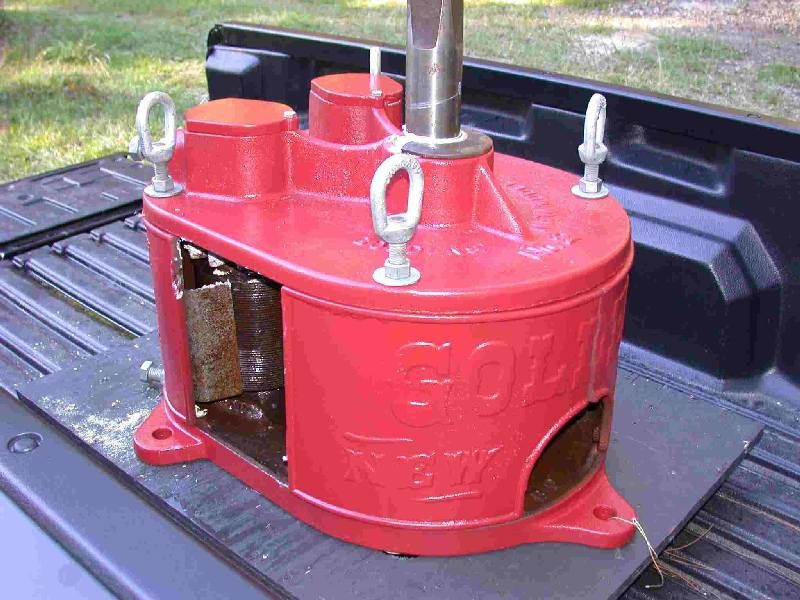
 Home Green is a joy to grind (Slide 12)--it yields prodigious
amounts of sweet juice and seems made for a one-stalk vertical mill. [The mill
shown is a Goldens' No. 2 (New Model) that was manufactured between 1905 (the
patent date) and 1924 (when the guide knife design was altered). Indicated by
surface pits, it had been on the ground for years before I recovered and restored
it.]
Home Green is a joy to grind (Slide 12)--it yields prodigious
amounts of sweet juice and seems made for a one-stalk vertical mill. [The mill
shown is a Goldens' No. 2 (New Model) that was manufactured between 1905 (the
patent date) and 1924 (when the guide knife design was altered). Indicated by
surface pits, it had been on the ground for years before I recovered and restored
it.]

I have my discharge roller set pretty tightly and this  cane comes out of
the mill almost cottony (Slide 13). The juice runs
through a coarse and then fine SS mesh (Slide 14).
cane comes out of
the mill almost cottony (Slide 13). The juice runs
through a coarse and then fine SS mesh (Slide 14).
 Our way of handling the juice is time consuming and Buttley steps up
to
Our way of handling the juice is time consuming and Buttley steps up
to  the plate to catch lagging drops of juice that fall while the
5-gallon bucket is being emptied (Slide 15). Of course, her head was a sticky mess by day's
end, giving Priss an hours-long "grooming" chore. I cannot, however, criticize
Buttley too heavily because I make a run to one of the nearby satsuma trees
regularly ( Slide 16).
the plate to catch lagging drops of juice that fall while the
5-gallon bucket is being emptied (Slide 15). Of course, her head was a sticky mess by day's
end, giving Priss an hours-long "grooming" chore. I cannot, however, criticize
Buttley too heavily because I make a run to one of the nearby satsuma trees
regularly ( Slide 16).
 Our goal is to start with the cleanest juice possible, so after
 primary filtration, the juice was decanted onto a secondary filter
consisting of three layers of diaper into a 50-gallon settling drum (Slide
17, Slide 18). A good measure of time is
used in washing the bucket and SS filters after each five gallons and changing
out the diaper filters after perhaps ten gallons. . . . but, as mentioned, our
efforts are for fun, not profit.
primary filtration, the juice was decanted onto a secondary filter
consisting of three layers of diaper into a 50-gallon settling drum (Slide
17, Slide 18). A good measure of time is
used in washing the bucket and SS filters after each five gallons and changing
out the diaper filters after perhaps ten gallons. . . . but, as mentioned, our
efforts are for fun, not profit.
 Before transferring the juice to the kettle, I removed
  surface contaminants as much as possible (Slide 19) and and Will took a Brix
measurement (Slide 20). The juice was sweeter than I had
expected (18.0) for Home Green, especially since it was fairly early in the season.
surface contaminants as much as possible (Slide 19) and and Will took a Brix
measurement (Slide 20). The juice was sweeter than I had
expected (18.0) for Home Green, especially since it was fairly early in the season.
 The
juice initially was 50 F and
The
juice initially was 50 F and  gentle heating began at 1120 (Slide 21). The juice temperature reached 135 F at 1208 when
the burner was killed. To prevent "sugaring," I prefer to use invertase (Slide 22, Saccharomyces cerevisiae, 20,000 Sumner
units per gram at the rate of 1-1.25 teaspoons per 55 gallons of juice at 135 F
for 30 min). (Whether using invertase or acid hydrolysis, it is important to
hydrolyze only a minimum of sucrose to minimize darkening and even flavor changes
that can come about via the Maillard reaction.) The heat in the furnace continued
to heat the juice, up to 138 F, and the burner was re-ignited at 1238. In order
to denature invertase, I aim to heat the juice to, say, 180 F as quickly as
convenient.
gentle heating began at 1120 (Slide 21). The juice temperature reached 135 F at 1208 when
the burner was killed. To prevent "sugaring," I prefer to use invertase (Slide 22, Saccharomyces cerevisiae, 20,000 Sumner
units per gram at the rate of 1-1.25 teaspoons per 55 gallons of juice at 135 F
for 30 min). (Whether using invertase or acid hydrolysis, it is important to
hydrolyze only a minimum of sucrose to minimize darkening and even flavor changes
that can come about via the Maillard reaction.) The heat in the furnace continued
to heat the juice, up to 138 F, and the burner was re-ignited at 1238. In order
to denature invertase, I aim to heat the juice to, say, 180 F as quickly as
convenient.

We spent about an hour skimming, longer than most do (Slide 23 ). During this period, we kept the juice just below boiling. We
poured the heat to it at 1335 (Slide 24)
). During this period, we kept the juice just below boiling. We
poured the heat to it at 1335 (Slide 24)


and continued skimming (Slide 25), soon using the skimmer to rake skimmings over the ring (Slide 26).
The frothing climbed up on the ring quicky (Slide 27.) By1352--less than 20 minutes from pouring the heat
to the kettle--the juice was self-skimming (Slide 28). The flue
temp
The flue
temp_red.jpg) erature was at the high end of normal (890 F) and though we
choked the furnace, the temperature continued to rise to 950 F. (There's no fire
hazard since my flue is rated at 1400 F continuous and 1800 F intermittant, but I
expect that lower
temperatures would be more efficient.)
erature was at the high end of normal (890 F) and though we
choked the furnace, the temperature continued to rise to 950 F. (There's no fire
hazard since my flue is rated at 1400 F continuous and 1800 F intermittant, but I
expect that lower
temperatures would be more efficient.)


1400 found me in a sportive mood, searching for whatever is sweet and available <grin>. I was caught by the camera (Slide 29), before I settled down (Slide 30).
 I
monitor the nascent syrup temperature and generally do not take density
measurements until the temperature gets in the 223 F range. I jumped the gun a
little this day, though, and took a Baume reading at 1435 (=9) and 1450 (= 11)
when Slide 31 was taken. At 1530, the Baume reading had increased
to 17; by 1550, to 22.
I
monitor the nascent syrup temperature and generally do not take density
measurements until the temperature gets in the 223 F range. I jumped the gun a
little this day, though, and took a Baume reading at 1435 (=9) and 1450 (= 11)
when Slide 31 was taken. At 1530, the Baume reading had increased
to 17; by 1550, to 22.
 At
1600, the syrup was coming into its own (Slide
32
At
1600, the syrup was coming into its own (Slide
32_red.jpg) ); it had darkened and the boiling formed "hog eyes," similar to
the way grits boil. . . . too bad that you can't smell it from your computer
<sad>. In a side view (2d grinding), the undulating boiling surface is more
apparent (Slide 33).
); it had darkened and the boiling formed "hog eyes," similar to
the way grits boil. . . . too bad that you can't smell it from your computer
<sad>. In a side view (2d grinding), the undulating boiling surface is more
apparent (Slide 33).
 At 1611,
the density had increased to 28; at 1620, to 31; at 1625, to 32; at 1638, to 35,
when we took the syrup off (Slide 34). This is the most tense period since the syrup
needs to be removed as rapidly as possible to avoid further density changes and
excessive caramelization on the kettle walls. I filtered through one layer of
flannel into a SS funnel that feeds into a SS tank that, in turn, is mounted on a
cart, which can be rolled up to the kettle.
At 1611,
the density had increased to 28; at 1620, to 31; at 1625, to 32; at 1638, to 35,
when we took the syrup off (Slide 34). This is the most tense period since the syrup
needs to be removed as rapidly as possible to avoid further density changes and
excessive caramelization on the kettle walls. I filtered through one layer of
flannel into a SS funnel that feeds into a SS tank that, in turn, is mounted on a
cart, which can be rolled up to the kettle.
 The
yield was 71 12.7-oz bottles (from 55 gallons of juice)
The
yield was 71 12.7-oz bottles (from 55 gallons of juice) and
bottling time averaged 3 min/case (end temperature = 179 F). After tightening a
cap, the bottle was inverted into a box. After filling the box, it was held for
10 min; then, the box was turned upside down and held for another 10 min.
Finally, the bottles were removed from the box and spaced under a fan to cool as
quickly as possible (Slide
36).
and
bottling time averaged 3 min/case (end temperature = 179 F). After tightening a
cap, the bottle was inverted into a box. After filling the box, it was held for
10 min; then, the box was turned upside down and held for another 10 min.
Finally, the bottles were removed from the box and spaced under a fan to cool as
quickly as possible (Slide
36).

Clean-up has its place, too. At the end of the day, the syrup house was tranquil, seeming to be unaware of the fun it had housed (Slide 37).
SELECT OTHER YEARS OF SYRUPMAKING FROM TABLE BELOW
| Ext Link 2013A Ext Link 2013B |
|
|||
|
2018 |
Ext Link 2018A |
|
![]()
![]()